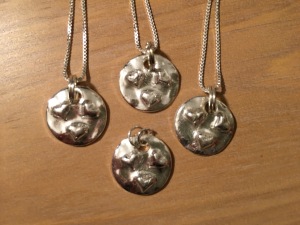
In my last metal clay class, we focused on kinetic rings. In the past we have only worked with Art Clay, but this time we also used FYI Silver Metal Clay by Val Lewis.
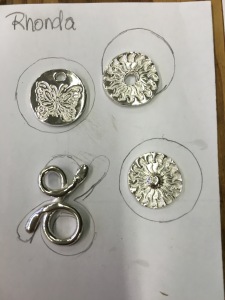
 We started with the FYI clay because it needs to be fired in a kiln and we needed the pieces to be ready for the next steps for making the rings. I hadn’t worked with this clay before, but it was quite nice. We used 10 grams of the FYI clay, and I was able to make the 4 pieces you see here. For reference, the round pieces ended up about the size of a penny. (Note that it is tough to take nice pictures during class with your phone with silver all over your hands. :))
One thing to note about the FYI clay is it has a higher shrinkage rate than the Art Clay. The picture on the right shows pencil lines that were drawn before firing. You can see the pieces shrank about a 20-25%. The advantage to this is you could create very small designs more easily because you’d have more clay to work with before it shrinks.
I had some extra clay after making the 2 pieces for the spinner ring. I used it to make a small butterfly pendant for 1 of my nieces and another squiggle piece that I plan to use as part of a necklace. Of these 4 pieces, the squiggle is my favorite. I want to make more pieces like this simply because they are more my style. Continue reading

